Drive Mad Level 89 Walkthrough - Bbridge Guide
Complete Drive Mad level 89 walkthrough. Learn how to beat Bbridge by using the vehicle's flexible bridge-like body to compress its joints, pop the front wheels upward, and hook…
Drive Mad level 89, called Bbridge, is a medium level built around timing, momentum, and front-lift. The vehicle is not a normal truck. It behaves like a long segmented bridge with several joints, which makes it stable on slopes but awkward at sharp vertical steps. The challenge is to stop treating the middle obstacle like a wall you can ram through. Instead, you need to use the flexible body to compress itself, create an upward rebound, and lift the front section just high enough to catch the ledge.
Why Level 89 Feels Hard
This level feels strange because the vehicle's greatest strength is also its weakness. The long flexible chassis absorbs terrain well, but that same softness spreads the weight out and makes direct climbing weak. When the front hits the central step, the body bends instead of climbing. Many failed runs happen because players accelerate harder and harder, which only flattens the front against the wall. The level becomes much easier once you realize the real solution is to compress the joints first and use that rebound to create lift.
Step-by-Step Walkthrough for Drive Mad Level 89
Step 1: Cross the opening slope with calm, even speed
Start by moving forward at a normal, controlled pace. The long bridge-like body is actually very stable on the first incline, so there is no reason to mash the throttle here. Stay smooth and let the joints settle naturally as you approach the central obstacle. The goal of this opening section is simply to arrive in control, not to build maximum speed. Too much throttle can make the rear sections wobble and leave the vehicle badly positioned for the setup that comes next.
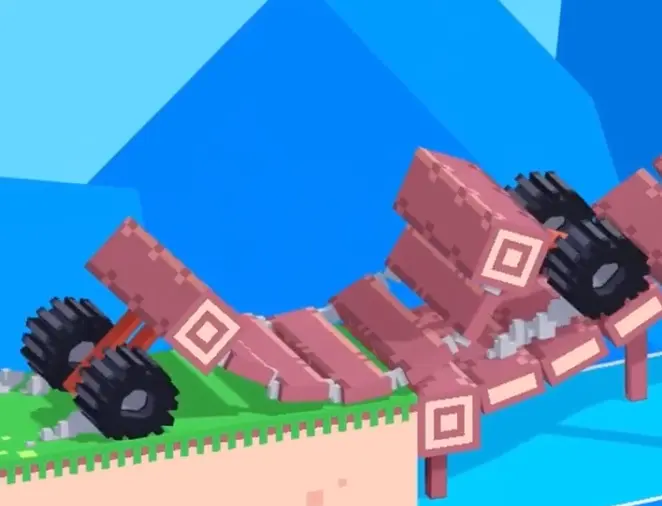
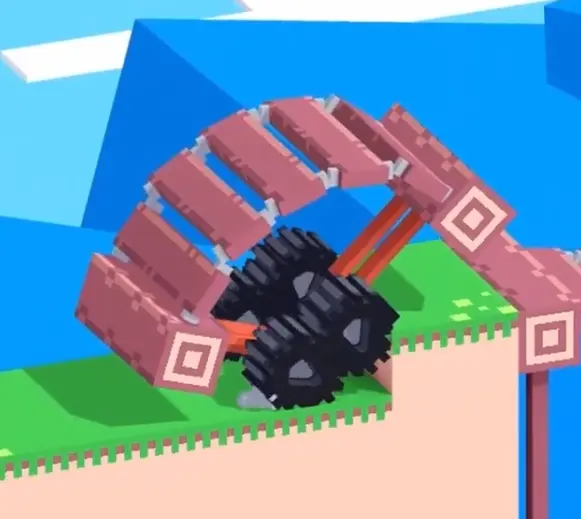
Step 2: Compress the joints at the wall and wait for the front to pop up
When you reach the vertical step, do not try to force your way through with a straight charge. Slow down and start a short rocking motion with quick forward and reverse inputs. This makes the segmented body bunch together and push against itself. As the middle joints compress, they create a rebound that can lift the front wheels. Watch the nose carefully. The moment you see the front section start to rise, switch immediately into strong forward input so the front tires can bite onto the ledge instead of falling back down.
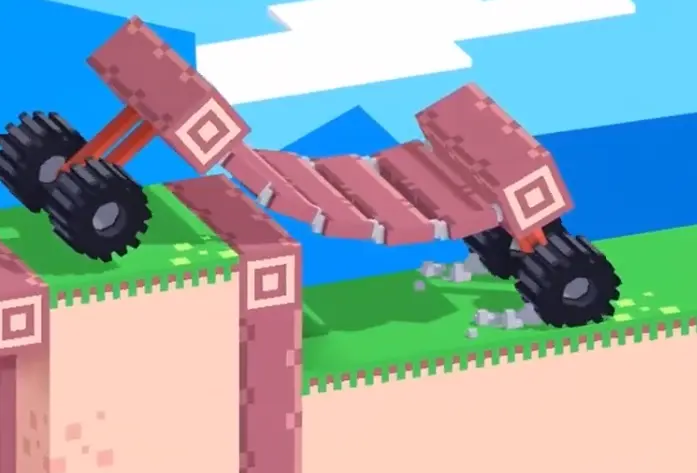
Step 3: Let the hooked front section pull the rest of the bridge over
Once the front section gets onto the ledge, the hardest part is over. Keep moving with steady throttle rather than panicking. The rear sections usually follow in sequence, almost like falling dominoes, because each joint begins to slide over after the one before it clears the step. Maintain enough speed to keep the pull going, but do not jerk the vehicle around. After the body fully crosses, hold a stable pace through the downhill exit and finish cleanly.
Best Cue for Consistent Clears
Compress, pop, hook, follow through.
Why This Method Works
This method works because the vehicle is effectively a flexible spring rather than a rigid climber. A direct hit wastes force by bending the body into the obstacle. Rocking forward and backward changes that force into stored compression across the joints. When that stored force releases, the front section gets the extra lift it normally lacks. Once the front catches the ledge, the long segmented body finally becomes an advantage, because the rest of the structure can snake over the obstacle without needing a second perfect jump.
Common Mistakes in Drive Mad Level 89
- Flooring the throttle too early and making the rear sections wobble on the approach
- Trying to ram the vertical step without first compressing the segmented body
- Missing the moment when the front wheels begin to lift
- Over-rocking the vehicle until the timing window is lost
- Panicking after the front catches and cutting the momentum that should carry the rest across
Fast Summary
- Approach the obstacle with smooth, controlled speed
- Slow down at the wall instead of charging it
- Use quick forward-and-reverse inputs to compress the bridge body
- Accelerate as soon as the front wheels pop upward
- Let the rest of the vehicle follow over the step with steady throttle
FAQ
How do you beat Drive Mad Level 89?
Approach the step calmly, compress the vehicle with short forward-and-reverse inputs, and accelerate the moment the front wheels lift so they can catch the ledge and pull the rest of the body across.
Why is Drive Mad Level 89 difficult?
Because the vehicle is long and flexible, so it absorbs force instead of climbing directly. You need to create lift through compression rather than brute-force acceleration.
What is the main trick in Drive Mad Level 89?
The main trick is using the segmented chassis like a spring. Rock the vehicle to bunch up the joints, then use the rebound to lift the front section onto the ledge.
Should I go full speed at the wall in Drive Mad Level 89?
No. A direct full-speed hit usually just folds the body into the obstacle. Controlled rocking and timed acceleration are much more reliable.